Rubicon Trail—Lake Tahoe’s Most Worth It Hike!
Lake Tahoe’s Rubicon Trail is THE trail to do during your visit!
It’s a breathtaking hike that connects D.L. Bliss State Park to Emerald Bay and, ultimately, Eagle Point Camp.
If you’re wondering what the best things to do in Lake Tahoe are—we got you. Get ready for some jaw-dropping views, historical gems, serene spots, and some MEGA sore legs after this epic hike.
Here’s everything you need to know about the Rubicon Trail, one of the best hikes in Lake Tahoe (well, at least we think so!)
Table of Contents
Rubicon Trail
We have some good news! If you start this hike at D.L. Bliss State Park (our recommendation), then you’ll be hiking mostly downhill the whole way!

The bad news? You’ll be hiking up hill on the way back, unless you arrange transportation. More on this below.
Should you be staying at Eagle Point Campground, you can also start this trail from there, but if you’re hiking all the way to D.L. Bliss, then that means you’ll be hiking uphill most of the way.

Here are the main trail details:
Distance: 7 miles-16.5 miles, depending; more on this below.
Type of Trail: Out and Back
Difficulty: Hard
Elevation Gain: 2,339 feet
Other important notes:
- Dogs are not allowed
- There is a fee for this trail; display your ticket or state park pass.
- Please check here for trail updates. This trail has closures in winter and D.L. Bliss State Park has construction closures. The Rubicon Trail is still open during construction.
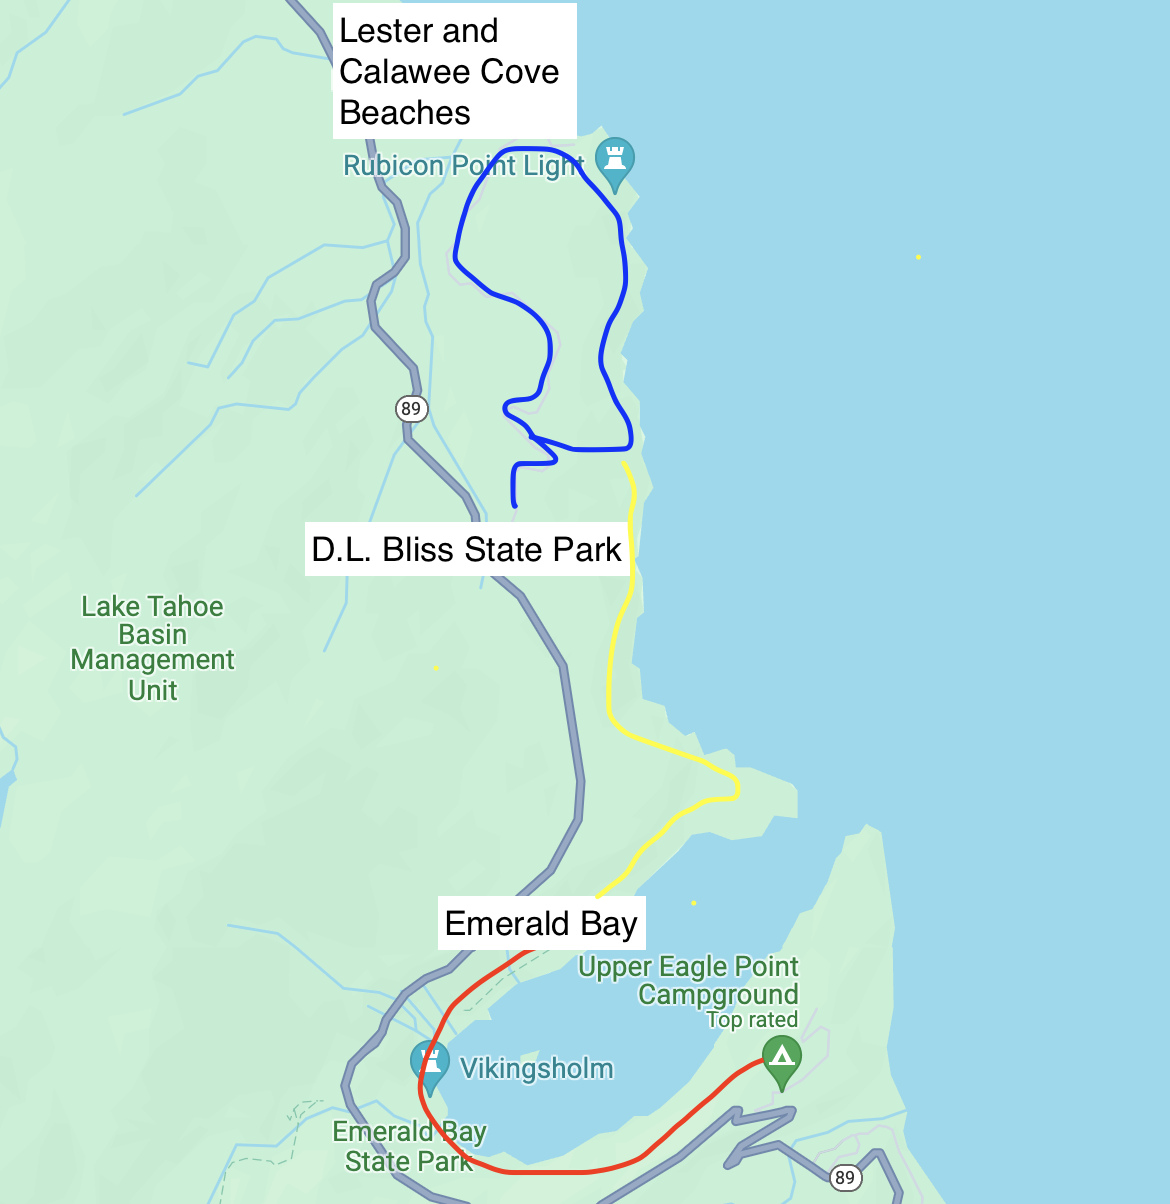
Starting at D.L. Bliss State Park
Your adventure begins at the beautiful D.L. Bliss State Park, named after a pioneering lumberman who found his bliss among Tahoe’s towering trees and deep, clear waters.

Getting here is easy, with clear signs leading you to the park from major routes around the lake. Parking? That’s another story, get here early. Remember, there’s a parking fee.
D.L. Bliss Beaches and Lighthouse
You won’t have to wait too long to get a revealing awe-inspiring view of Lake Tahoe’s crystal-clear waters and the Sierra Nevada’s rugged beauty.

You’ll head down the road and quickly stumble upon Calawee Cove Beach, where you can get epic shore views. Lester Beach is a short detour to the left, but this is a long trail, so don’t dip your toes in for too long.
Shortly after the shoreline, you’ll head up to get great views over the lake and go past the historic wooden lighthouse that sits on top of a rubble of rocks.

This quaint beacon guided adventurers for a few years and now just serves as a pretty stopping point along the Rubicon Trail. This section is definitely one of the coolest parts of the hike.
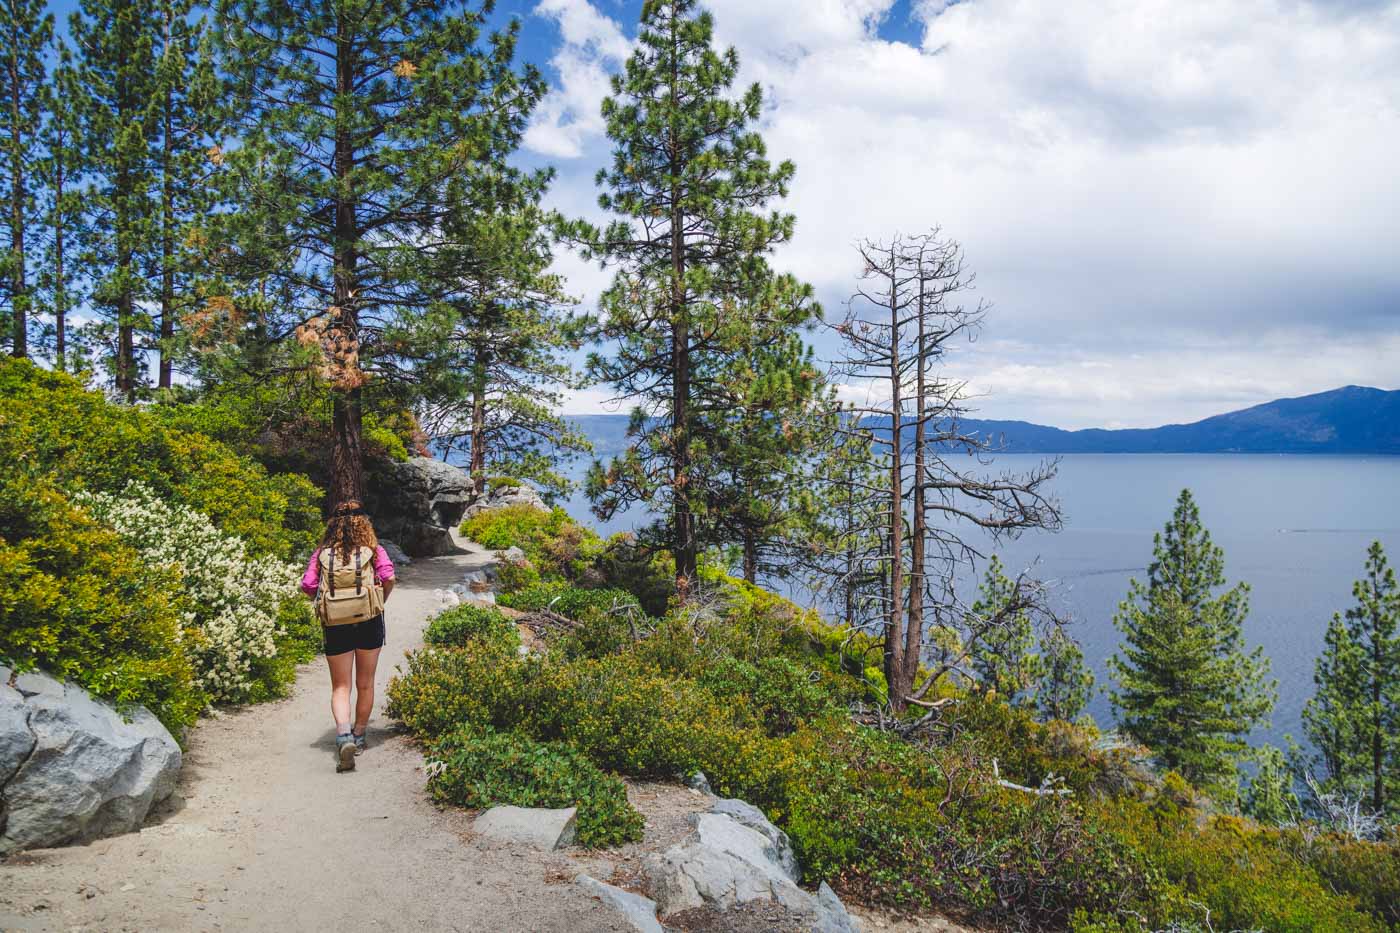
Cliff and Lake Views for Miles, Literally
After the lighthouse, you’ll forget the fact that you’ve covered about three miles so far and continue along the trail.
You’ll be along a cliffside with epic views and a little narrow walkway where you’re almost having to hug the rocks to get through. All the while, the stunning blue Lake Tahoe is below you.

Soon, you’ll have some switchbacks, but nothing intense. Plus, you got cool coves and you’re getting closer to the lake’s edge again with every step! You’re about halfway done!
Enter Emerald Bay
You’ll soon round a corner and enter Emerald Bay with Fannette Island floating in the distance. You’ll walk right through the boaters’ campground as you step closer and closer to the bay.

You’ll cross a few footbridges and start to really get back in the action since there’s a little beach down here at Emerald Bay where people will be hanging out catching some sun and renting kayaks to have a paddle.
Keep on going, and you’ll hit Vikingsholm, a 1929 mansion that’s a stunning example of Scandinavian architecture tucked right at the head of Emerald Bay.

If you want, take a tour (summertime only) of the inside, or if you’re staying at Eagle Point Campground, the Rubicon Trail will lead you right to your tent (this option will total you around 8 miles one way)!
Alternatively, you can walk up to the Emerald Bay State Park Lookout and get back out on the main road (this one way route option will be around 7 miles total).

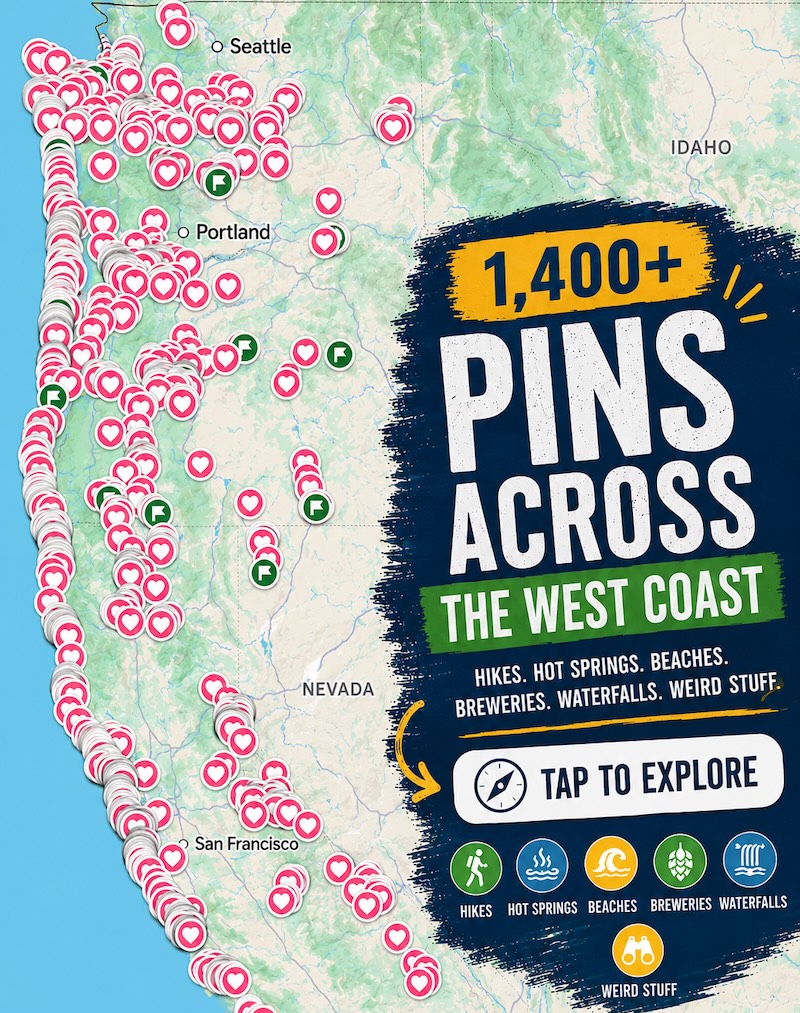
📍 GET THE ULTIMATE CALIFORNIA MAP 🗺️
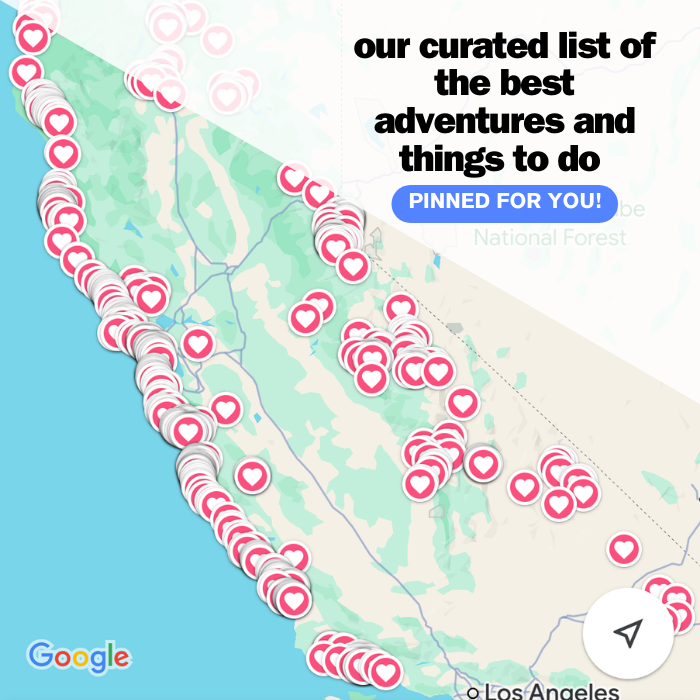
Get our curated list of the best adventures and things to do north of LA loaded onto your maps with just two clicks!
✅ Waterfalls ✅ Hikes ✅ Viewpoints
✅ National Parks ✅ 1400+ Pins

🏨 Need a place to crash nearby?
From rustic cabins to boutique inns—check prices and availability in just a click.
Do You Have To Hike The Whole Way Back?
This is a LONG trail. Around 8 miles one way (D.L. Bliss to Eagle Point Camp). I’m willing to bet you loved it, but you don’t want to have to walk all the way back to your car, making this trail a whopping 16.5 miles long.

So here’s your solution:
- Buddy System: If you’re here with friends, get someone to park on the other side. One car should park at Emerald Bay State Park Lookout and the other at D.L. Bliss State Park. (or the campsite if that’s where you’re already staying)
- Trolley: There’s often a trolley running that goes back and forth around this area! For a couple of bucks, you can take the trolley back to your car. Check here for more info.
Don’t Have Time For The FULL Rubicon Trail?
Is this trail too long for you? Do you want a shorter option? We got you!

- D.L. Bliss – Just hike this portion. Head to Calawee Beach, the lighthouse, and then cut in at the campground junction to head back up to your car. This little loop will be around 4 miles in total.
- Emerald Bay – Head to the Emerald Bay State Park Lookout, hike down and to the left for a quick wander towards the boater camp, then head back towards Vikingsholm and back up to the viewpoint. This will be around 2 miles or so.
These two options cut out the middle of the hike for those of you short on time. These will definitely be the busier areas of the hike but also, the most worth it parts so don’t feel bad if you can’t do the whole thing.
When to Go
Lake Tahoe shines in every season, but the Rubicon Trail is at its best from late spring to early fall. Winter snows can make the path inaccessible, so don’t plan for a hike at that time.
We had amazing weather and a great time hiking this trail in June, despite some of the crowds. It actually wasn’t that bad, but we did get an early start.

Tips:
- Start Early: Beat the crowds and secure parking by arriving at D.L. Bliss State Park in the morning. Parking gets hectic here.
- Pack Essentials: Water, snacks, sunscreen, a hat, sunglasses, and good hiking shoes are must-haves. If you’re hiking in cooler weather, don’t forget layers.
- Stay Hydrated: Bring more water than you need, especially in summer.
- Respect the Trail: Stay on marked paths to protect the surroundings.
- Leave No Trace: Pack out all your trash, including organic waste like fruit peels. Leave the trail as beautiful as you found it.
- Plan Your Return: If you’re not hiking back, arrange for a shuttle or pick-up at the trail’s end.
- Check the Weather: Conditions can change quickly in the Sierra. Check the forecast before you head out and be prepared for anything.
- OHV Trail: There’s an OHV Trail also named Rubicon Trail, that’s just few a minutes from D.L. Bliss. Don’t get these two trails confused!
Phew! That was a lot! But we think this trail is definitely worth it and one of the best trails in Lake Tahoe to tackle. You should at least hike one of the shorter options if you can.
Read more of our guides to Lake Tahoe:
- 18 BEST Things to Do in Lake Tahoe in Summer
- 12 BEST Views of Lake Tahoe
- Rubicon Trail—Lake Tahoe’s Most Worth It Hike!
- Secret Cove Beach in Lake Tahoe (Plus 4 Others!)
- 10 WORTH IT Hikes in Lake Tahoe
- 13 BEST Beaches in Lake Tahoe
- Sand Harbor Beach at Lake Tahoe
- Sugar Pine Point State in Lake Tahoe
- Emerald Bay State Park in Lake Tahoe
We hope this helped you plan your hike on the Rubicon Trail in Lake Tahoe!