Sentinel Dome and Taft Point Loop Hike in Yosemite National Park
We know what you’re thinking right now. Should you do the Sentinel Dome or Taft Point Hike? There are so many hikes and things to do in Yosemite National Park—how can you narrow it down?!
We hope this post helps you decide which hike is for you, and as you will find out, perhaps you CAN fit in both of these epic hikes. These both offer some high rewards without a challenging effort. Here’s everything you need to know about the Sentinel Dome Trail and Taft Point Trail.
Table of Contents
Sentinel Dome Trail
Distance: 2.1 miles
Type of Trail: Out & Back
Difficulty: Moderate
Elevation Gain: 456 ft
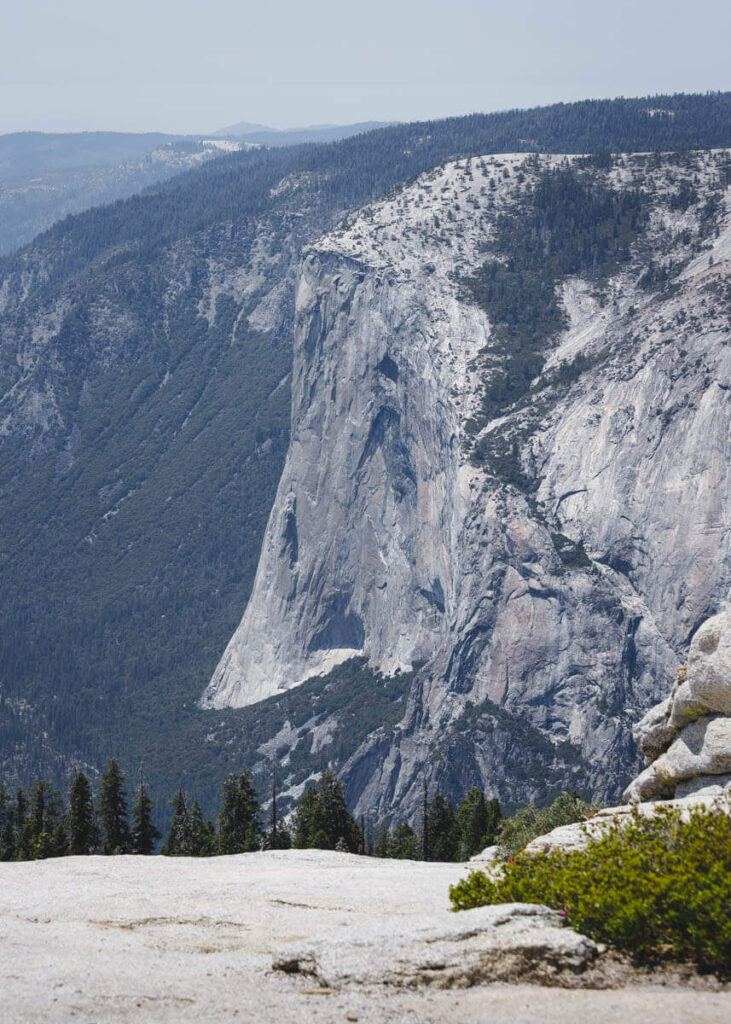
If you want to see almost everything Yosemite has to offer packed neatly into one short, moderate hike, the Sentinel Dome Trail has you covered. Once you reach the dome’s summit, you could spend hours gazing at the incredible views of granite cliffs, waterfalls, and pines as far as the eye can see.
For the most part, you will be heading steadily uphill, which helps the hike ‘gain’ its moderate status, however, if you are an avid hiker, it won’t be anything you can’t handle.
You won’t have to hike for too long before you are rewarded with your first peak of the dome, and hopefully, this will be enough to spur you onwards!
For some of the Sentinel Dome hike, you will be out in the open, so sunscreen is a must, although you will get a few shady sections where you delve back into the trees.

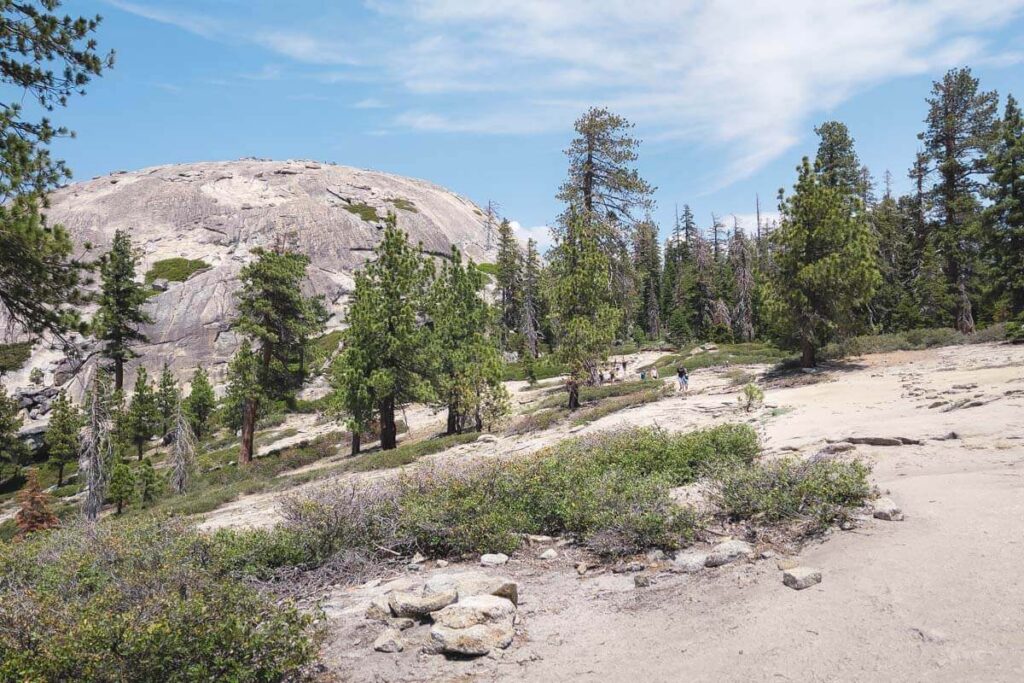
After traversing the trees and rocky landscape, you will reach the base of the dome. Take a deep breath and begin the last stretch of the climb; you are nearly there!
With no actual trail at this point, you are free to explore the vast open plains of the dome in any way you like, so take a minute to see which section looks the easiest.
Sentinel Dome Trail Summit
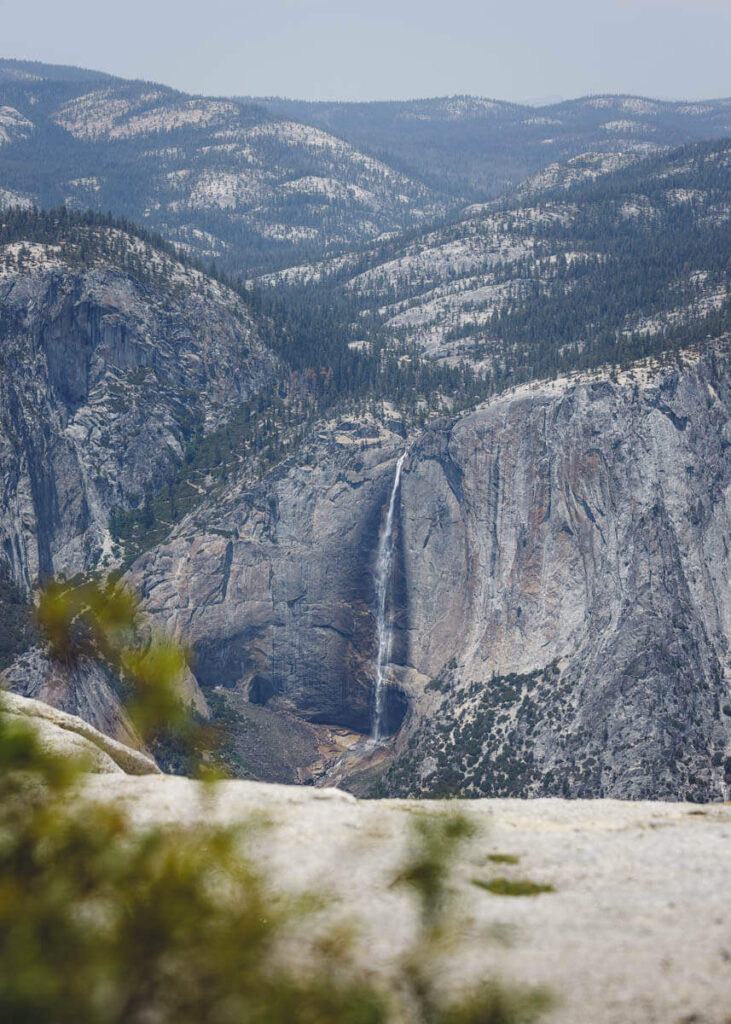
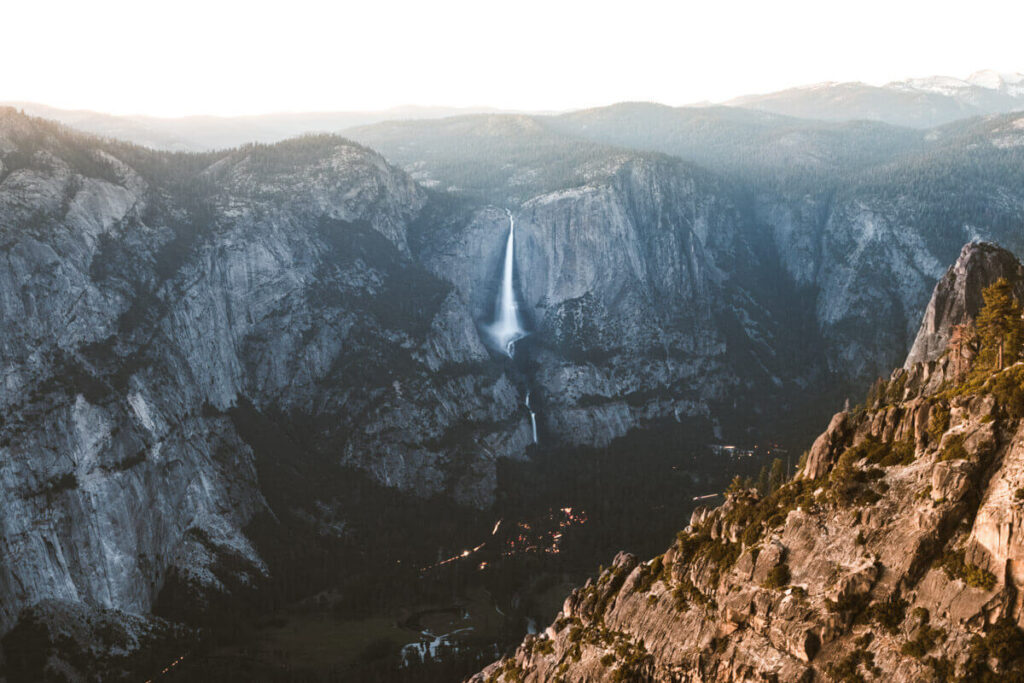
Once you reach the summit of the dome and have given yourself a little time to catch your breath, just look around. This is, without a doubt, one of the most stunning views in the park.
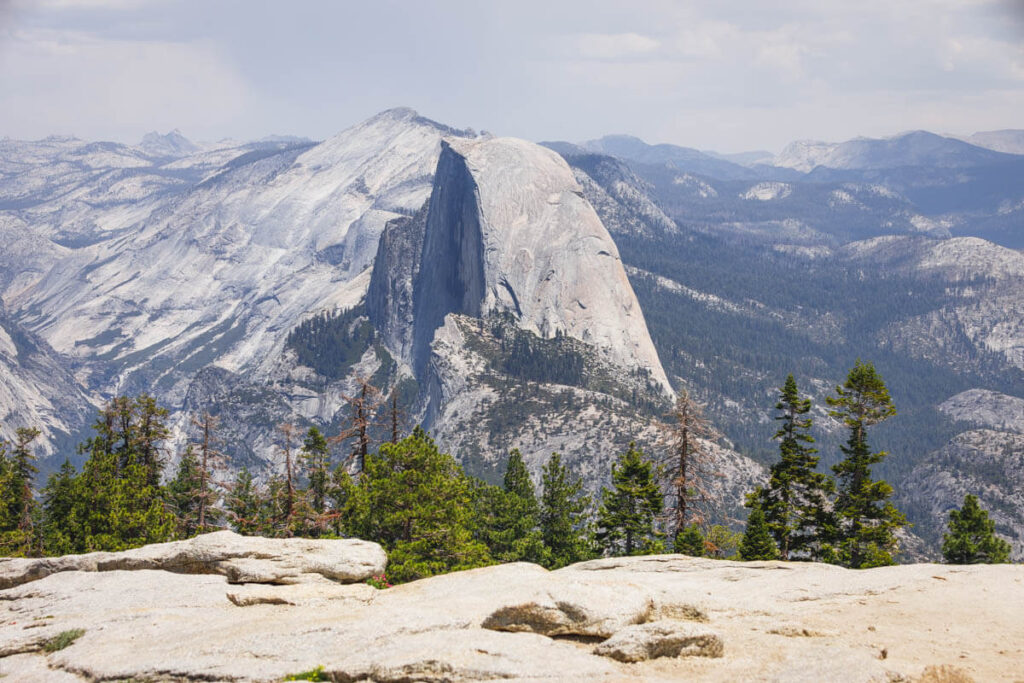
You can take in Yosemite and Nevada Falls, Half Dome, and El Capitan, with incredible views down the valley. Be sure to give yourself time to take a walk around the top of the dome and take in the different viewpoints.
When you can bear to tear yourself away from the breathtaking vista before you, it is time to make your way back down the way you came, following the Sentinel Dome Trail.
✋ HOLD UP! Don’t Forget…
You need some wheels! It’s nearly impossible to get around the USA and check out the best adventures without a car! Here are our top recommendations…
🚗 Rent a car
If you don’t have your own, renting a car is your best bet!
🚐 Rent a home on wheels
For the more adventurous, rent a van or RV and ditch the hotel.
📍 GET THE ULTIMATE CALIFORNIA MAP 🗺️
Get our curated list of the best adventures and things to do north of LA loaded onto your maps with just two clicks!
✅ Waterfalls ✅ Hikes ✅ Viewpoints
✅ National Parks ✅ 1400+ Pins


Taft Point Trail
Distance: 2.3 miles
Type of Trail: Out & Back
Difficulty: Easy
Elevation Gain: 367 ft
The Taft Point Hike is a Yosemite classic. You will get the views that make Yosemite so famous and a few bonus natural wonders thrown in. If heights set your knees knocking, this may not be the hike for you, as it is a long way back down to the valley below!

You’ll start the Taft Point Trail at the same point as the Sentinel Dome hike, but be sure to turn left at the junction to start making your way to Taft Point.
It is just a short walk to the first sighting of Taft Point and the sheer cliffs that make up this section of the park. For a while, you will be walking through a thick forest made up of lodgepole pines and Jeffrey pines, giving you some much-needed shade.
Even if heights do not bother you, the crazy drop here and the much lower valley floor to come are sure to up your heart rate at least a little.
Taft Point Summit
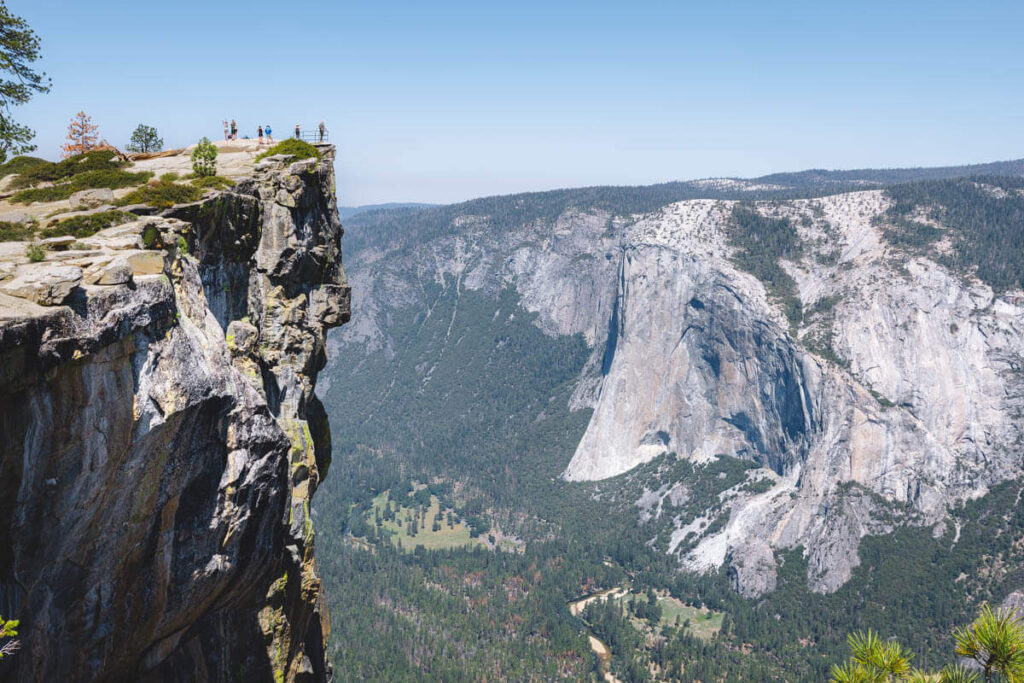
Carefully follow this trail until you finally make it to Taft Point, where you may be pleased to know a railing separates you from the drop in front of you—Well, at least just at the “point,” the rest is totally open with a steep drop!
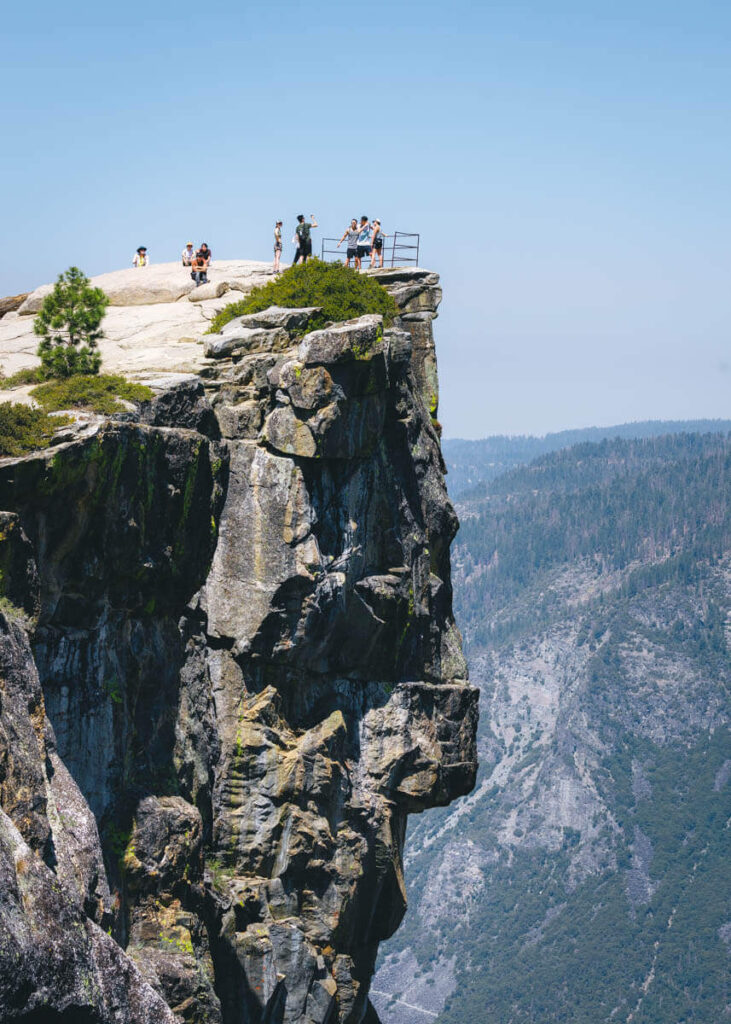
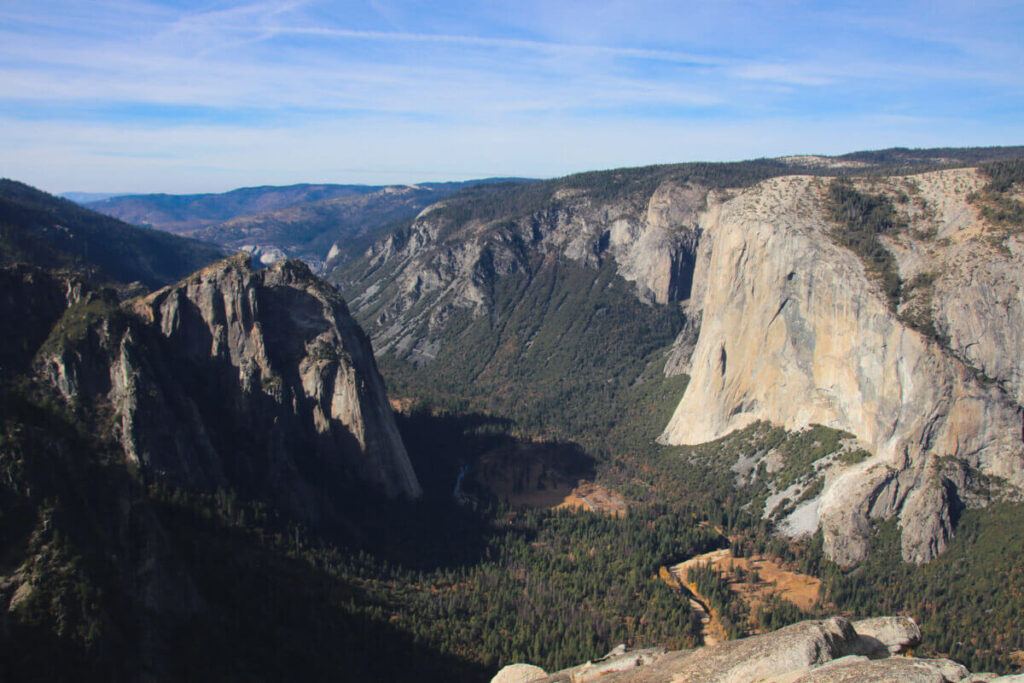
This is definitely a ‘one minute you are on the road looking at the scenery, next thing you know you are in the scenery looking at the road’ kind of moment, as you can see the road snaking its way through the trees and valley below you.
El Capitan, Yosemite Falls, Eagle Peak, and the Three Brothers are all easily viewed from this lofty position.
Keep your eye out for the fissures that dot the landscape along the route. Here you will witness nature’s incredible power, with clear splits right down the rock. Seriously though, be careful, there are literal holes and cracks in the ground here, and there are no barriers!
The payoff is incredible for such a short hike, and although it is still a popular location, you won’t be sharing the view with hundreds of others like you may be at some of the other Yosemite viewpoints.
RELATED: Things To Do in Yosemite: 26 Can’t-Miss Spots!
Sentinel Dome and Taft Point Loop Hike—Do Them Both!
Distance: 5.1 miles
Type of Trail: Loop
Difficulty: Moderate
Elevation Gain: 1,122 ft
There is an ideal solution if you can’t choose between the two hikes (we don’t blame you). This hike gives you the best of both worlds, creating a loop that combines both the Sentinel Dome Trail and Taft Point Trail.
These South Rim highlights have the enviable position of being relatively close to each other, so both can be reached without too much work.
Start the hike from Sentinel Dome trailhead, and at the crossroads, go right towards Sentinel Dome. Take the hike through the rocks and woodland to the dome, and take your time making your way up the peak to take in the views.
Once you have had your fill of the gorgeous vistas, make your way back down, but instead of taking the trail back the way you came, turn left and start making your way along the Pohono Trail.
This is a beautiful hike in itself, as you will be making your way along meadows and through crunching pine forests, crossing Sentinel Creek along the way. This section of trail runs parallel to the edge of the South Rim; therefore, the views along the way are not too shabby either.
Follow the signs for Taft Point, and brave a look down the fissures if you dare. Just be careful, it is a long way down. These deep gashes extend down through the rock, and some may even let you see the floor thousands of feet below you.
If you have a fear of heights, the best advice we can give is don’t look down! You can then follow the signs back to the parking lot.
🏨 Need a place to crash nearby?
From rustic cabins to boutique inns—check prices and availability in just a click.
Tips For These Hikes:

- The loop is a little longer than doing two out-and-back trails to these dramatic vistas, but instead of taking in the same views, it gives you a chance to take in even more of these stunning sights. If you have the time—Do it!
- Of course, as a loop, the hike can just as easily be completed in the other direction, but we think doing Sentinel Dome first is ideal so you can get the uphill part out of the way first!
- Take note that if you want to reach the trailhead via vehicle, you can only get there in the summer when Glacier Point Road is open. A shuttle will take you up to the trailhead during the day if there’s no parking. (The parking space is very limited here)
- Going off the above, get here early! You’ll be more likely to find parking, it won’t be as hot, and you will deal with less crowds.
- Both trails are mostly exposed, bring sunscreen and a hat! And don’t forget to grab one of these best camera backpacks if you’re a photographer or at least a regular day pack to carry your stuff. This is the backpack I used.
This is by far one of the better hikes in Yosemite National Park simply because of its effort-to-reward ratio. For a moderate 5 miles, you can see some of the best views in the park!
Hopefully, this helped you narrow down your hiking list for the park—Or made it more difficult to choose because they are all so great. Not sure…
Check out our other guides to Yosemite:
- Things To Do in Yosemite: 26 Can’t-Miss Spots!
- 15 Best Hikes in Yosemite National Park
- Sentinel Dome and Taft Point Loop Hike
- Vernal Falls Hike—3 Ways to Hike Up!
- Where to Stay in Yosemite: BEST Areas, Camping and Lodging
- Waterfalls in Yosemite National Park: 8 BEST!
- Glacier Point Road: What to Know