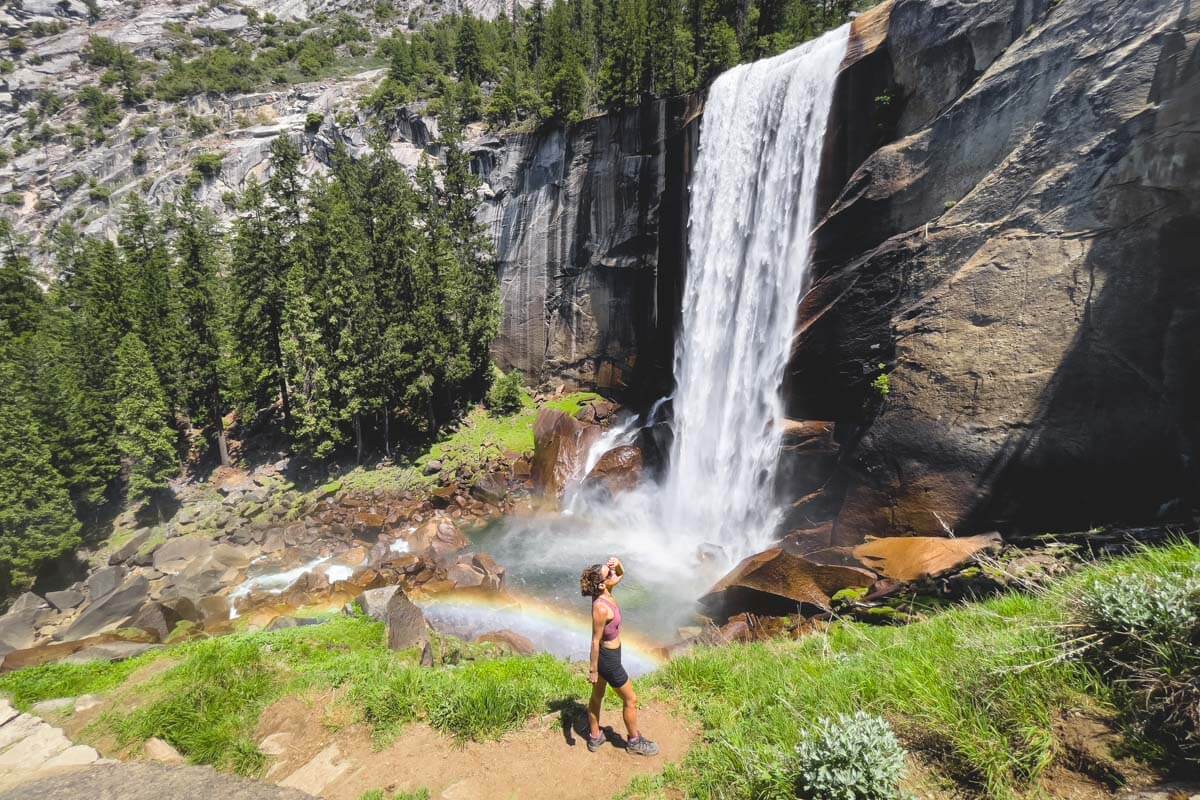
Vernal Falls Hike in Yosemite—3 Ways to Hike Up!
The cascading tower of water that is Vernal Falls is one of the most powerful waterfalls in the incredible Yosemite National Park. Granite stone walls surround beautiful vistas, with rivers and waterfalls breaking through the scene like silver ribbons.
Yet, unlike many of the other famed waterfalls in Yosemite, Vernal Falls in Yosemite requires a little effort to see. It’s worth it, though, we promise!
The Vernal Falls hike is located on the aptly named Mist Trail and is one of the park’s most popular hikes. It packs in everything you would want from a Yosemite hike and more.
There are a few different ways you can do the Vernal Falls hike and potentially visit its neighbor, Nevada Falls. All options are decently challenging, so you have to be prepared. You will be climbing almost constantly to get there, so make sure you do your stretches before you set off!
Let’s look at the different options you can do depending on how much time you have and how strenuous of a hike you want.
GET THE ULTIMATE CALIFORNIA MAP
Get our curated list of the best adventures and things to do north of LA loaded onto your maps with just two clicks!


Table of Contents
Vernal Falls Hike—Which of These 3 Routes Should You Take?
Route 1 – The Mist Trail – The Quickest Way To Vernal Falls
Distance: 3.1 miles
Type of Trail: Out & Back
Difficulty: Hard
Elevation Gain: 1,132 feet
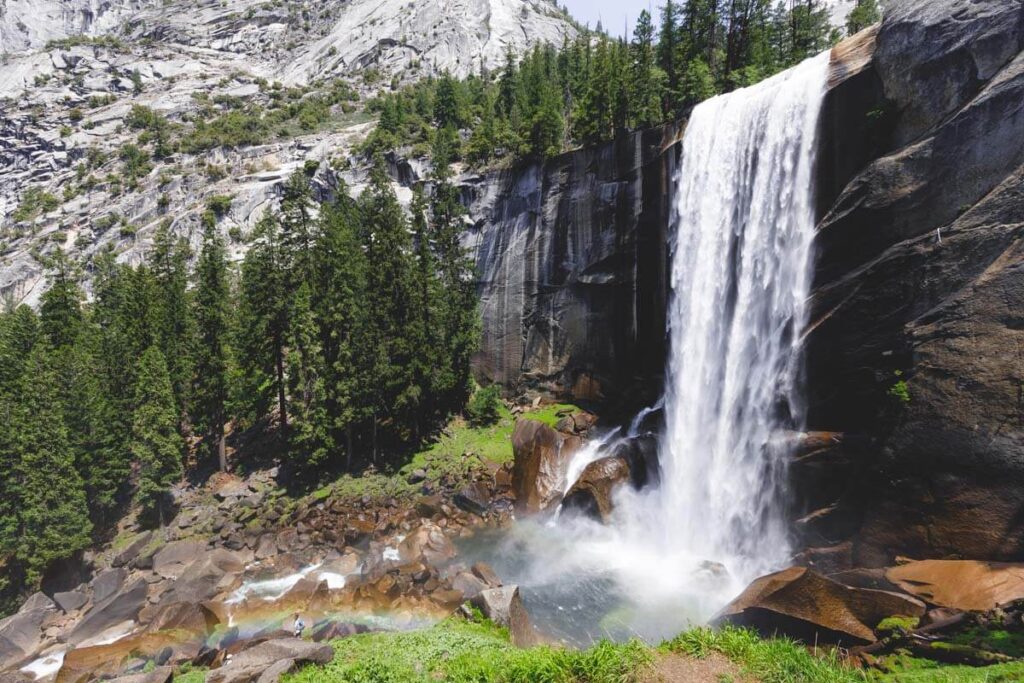
The Mist Trail is the most used and straightforward route to Vernal Falls in Yosemite. It was named the Mist Trail as it brings you right to the foot of the falls, so close that you can feel the spray on your face and witness the power of this water flow.
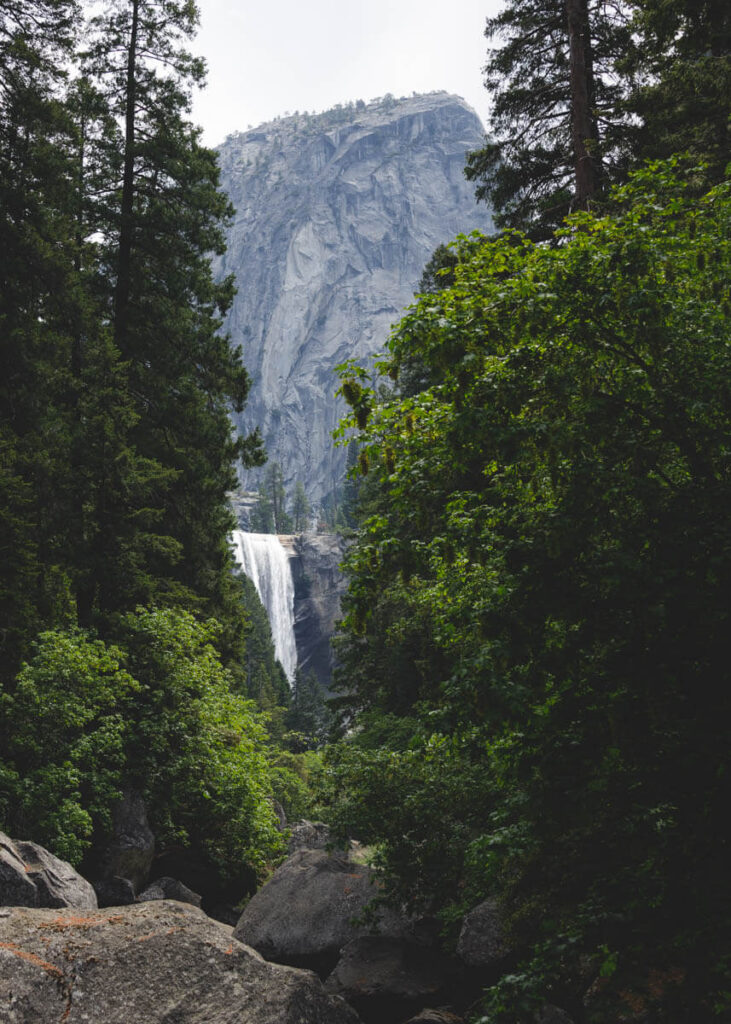
We would go as far as saying that the Mist Trail is Yosemite’s signature hike, so if you were only going to pick one trek during your stay, this is a contender.
Although the Vernal Falls hike is only around 4 miles out and back, prepare to get a little sweaty, as you will be climbing for a lot of the route. You will gain 1000 verticle feet if you want to reach the top of the falls.
The trailhead of the Mist Trail can be found down in the valley, near the Happy Isles Nature Center. The nearest shuttle stop is 16 if you come from around the park. Head to the bridge over the Merced River and then reach the trailhead.
Once you have been hiking for almost a mile, you might get a little peak of Vernal Falls from Vernal Fall Bridge. At this point, those that are short on time or don’t fancy the climb may turn back, but you need to plow on if you want to get to the best bit of this hike. Steps, steps, and more steps are what await you!
RELATED: Things To Do in Yosemite: 26 Can’t-Miss Spots!
Getting to the Top of Vernal Falls
Head up the canyon edge, admiring the views along the way. The steps will then end and be replaced by rocky boulders and slopes, and this is where things can get a little hairy, but keep going!
Although you will be able to see Vernal Falls for quite a lot of this hike, once you have completed the 600 steps to the top, the size of the waterfall will take your breath away. It is an awe-inspiring waterfall at 317 feet with a sheer rock backdrop.
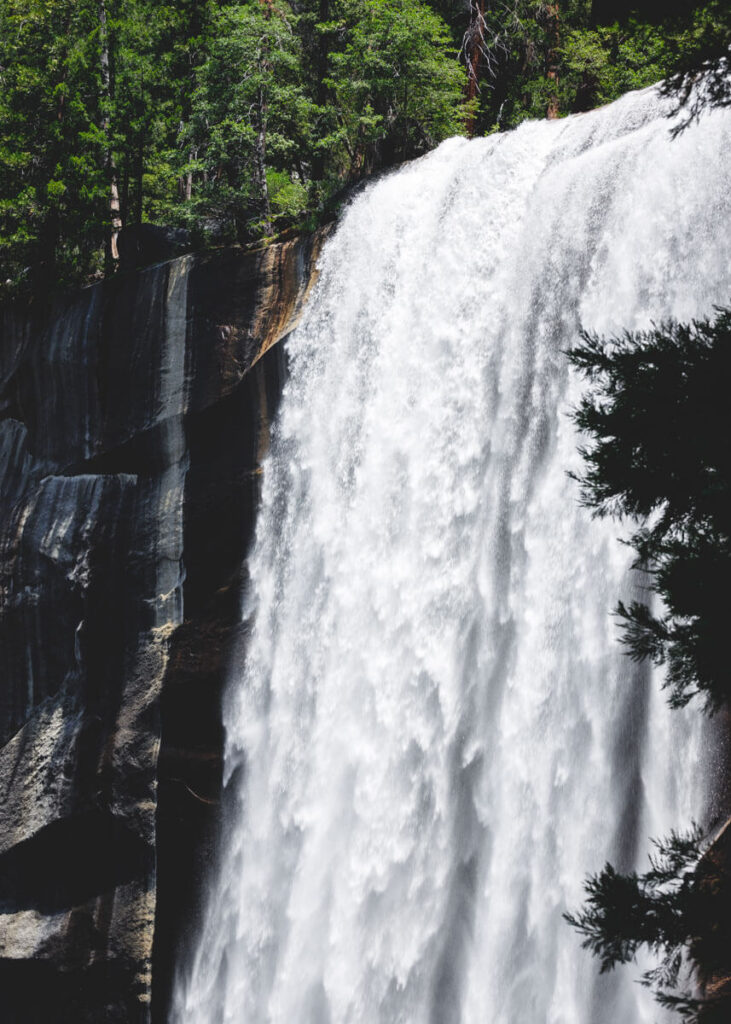
It is impressive in spring or early summer when the waterfall flows at full power. Keep on climbing, and you can actually stand right by the drop of Vernal Falls and take in the many incredible vistas along the way.
Route 2 – Add on Nevada Falls – A Worth-It Add-On to Your Vernal Falls Hike
Distance: 6.4 miles
Type of Trail: Loop
Difficulty: Hard
Elevation Gain: 2,208 feet
After tackling the climb to Vernal Falls in Yosemite, you can continue the hike up to the majestic Nevada Falls if you just can’t get enough of the burn. This is definitely a challenging ascent and turns it into a much longer hike.
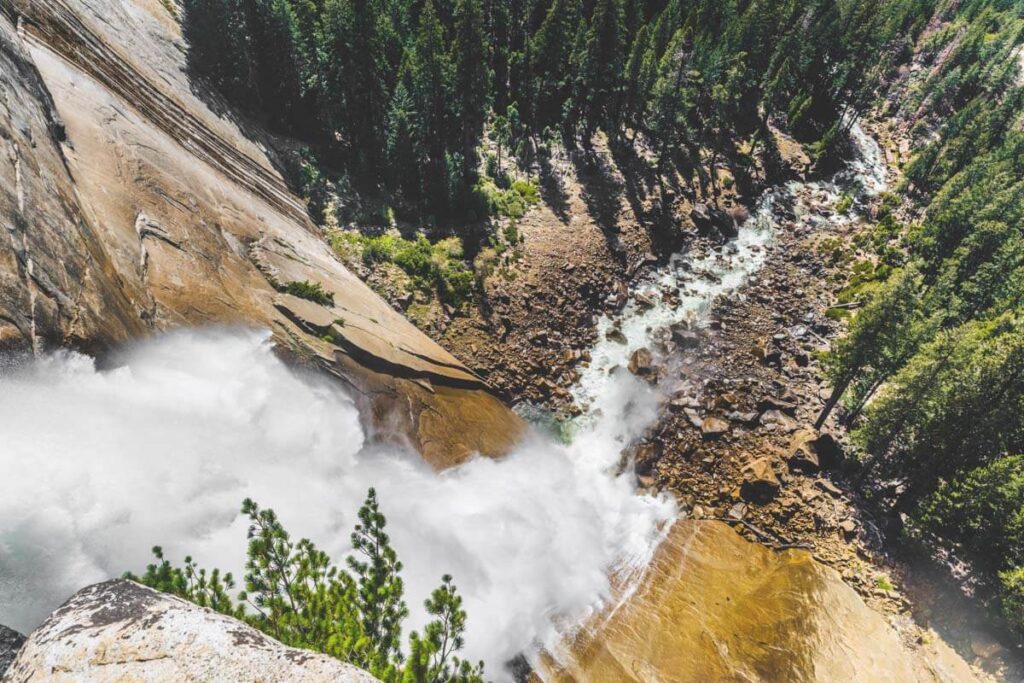
Don’t let the relatively flat start to this part of the trail lure you into a false sense of security, as it will soon get super steep and is very challenging. On the plus side, the trail is likely to be much, much less busy, as many hikers turn around once they have reached Vernal Falls.
You will pass through some forested areas, which are beautiful in their own right, and provide some much-needed shade.
Getting to Nevada Falls
The 594-foot drop of Nevada Falls is an impressive sight. Once you begin climbing, you will be rewarded with glimpses of Yosemite Valley, encouraging you to keep going. You will know you are nearing the end of the Mist Trail when you reach a series of switchbacks.
At the summit, you will cross a bridge that goes across Nevada Falls, and from here, you’ll experience one of the best views of Yosemite Valley. It is incredible. Plus, you have the bonus of the towering Liberty Cap to your right, a massive granite dome that almost rivals the famed Half Dome.
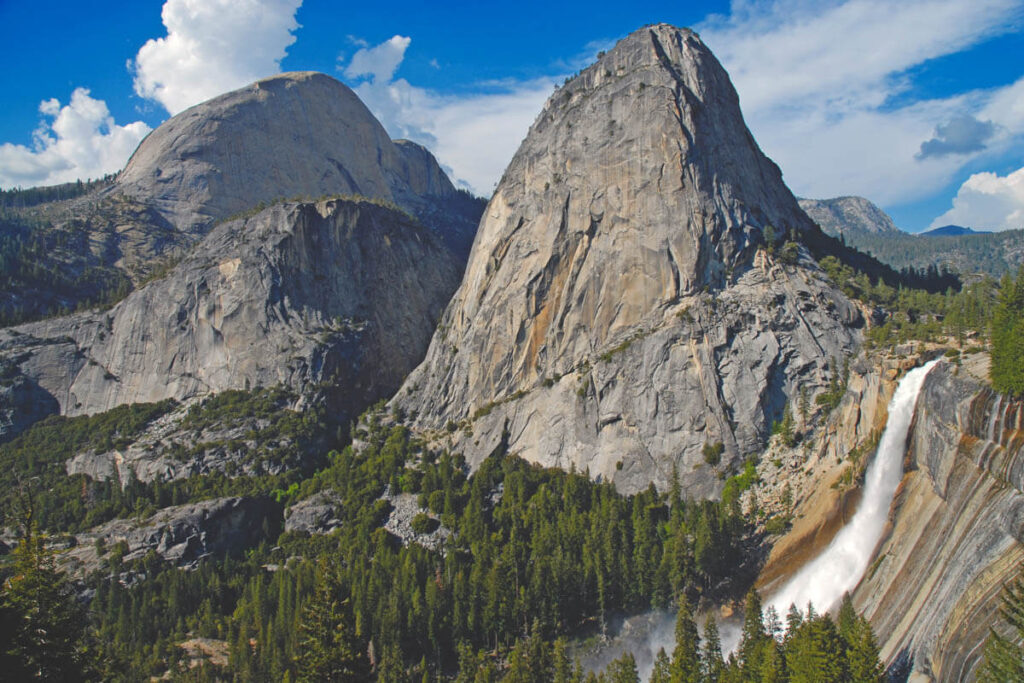
Nevada Falls is the grand finale of the entire Mist Trail and the John Muir Trail. Therefore if you want a bit of a change of scenery, you can always head up one trail and down the other. How you do it depends on whether you would rather have the steeper part going up or down.
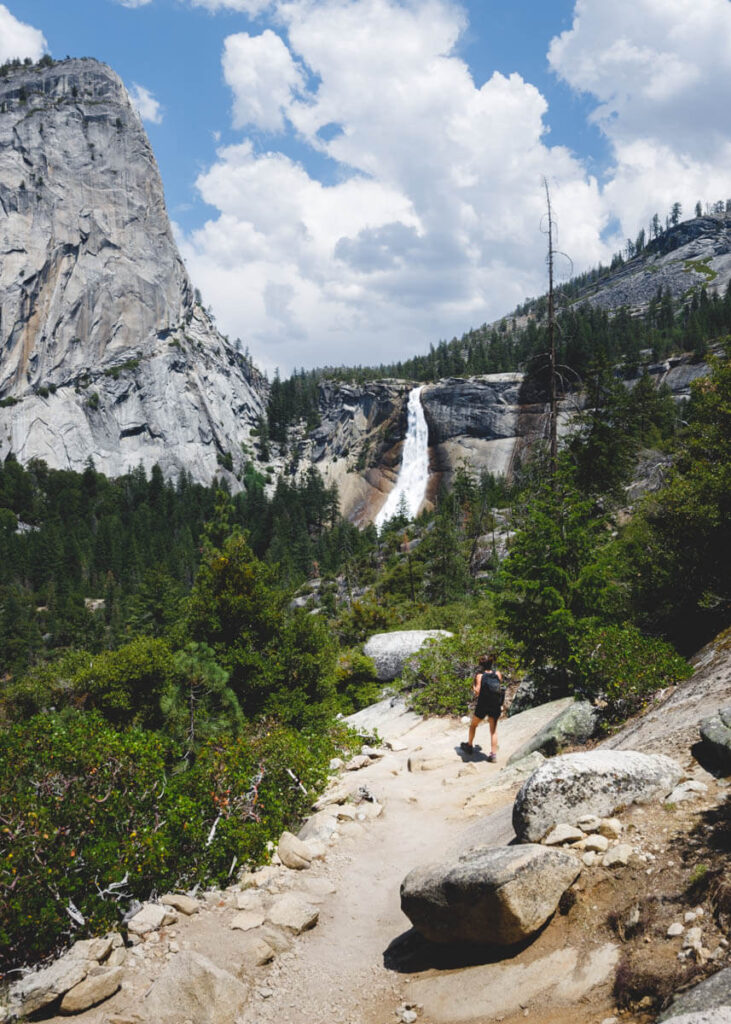
The John Muir is often the choice for those descending, as it is a much more gradual descent. It doesn’t pass Vernal Falls, so retake the Mist Trail if you want another glimpse of this on the way down.
If you decide to take the John Muir Trail down, don’t forget to look at the views as you descend. Liberty Cap and the Half Dome put on quite a show from this lofty viewpoint.
Route 3 – Clark Point – The Best of Both Trails
Distance: 4.5 miles
Type of Trail: Loop
Difficulty: Hard
Elevation Gain: 1,614.2 feet
Another option, if you don’t want to miss out on at least seeing Nevada Falls, but don’t want to attempt the entire hike up to it, is to take the trail that takes you past Clark Point.
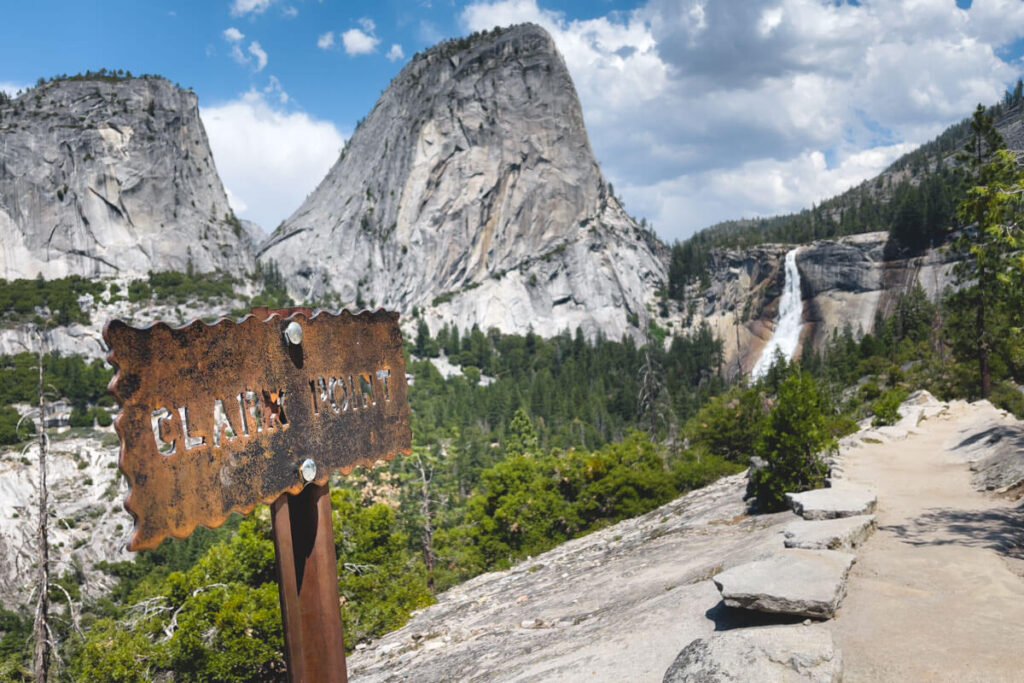
This is the lesser-known third Vernal Falls hike option, but actually the best option for many (it’s our favorite option!)! It takes you along a cut-through between the Mist and John Muir Trail via Clark Point, creating a nice little loop.
From Clark Point, you will get a great view of Nevada Falls, despite being from quite a distance away. It’s a great option if you want to see both waterfalls but want to make the hike shorter and less strenuous.
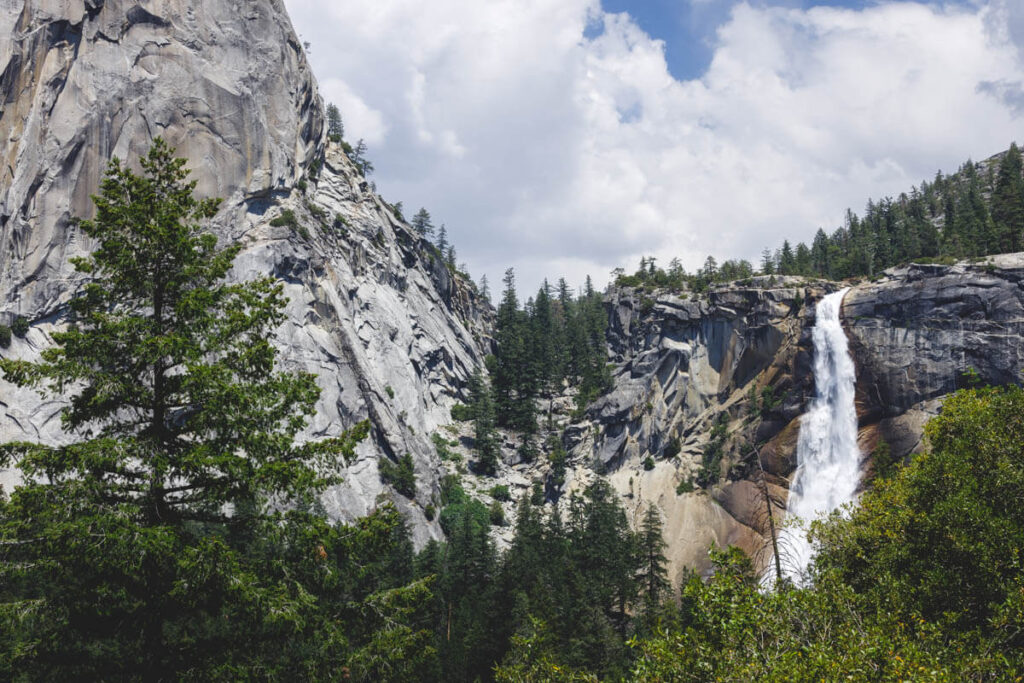
Another benefit is that you can come back down the John Muir Trail and avoid the steep and slippery steps and slope of going down the Mist Trail. Not to mention you’ll miss all the crowds too.
So Which Vernal Falls Hike Is Right for You?
No option is the wrong option to get you to Vernal Falls in Yosemite. All will give you incredible views of the waterfalls and surrounding landscapes. Which route you take depends on what you want as a hiker for the day.
If hiking the Mist Trail is just one element of your Yosemite itinerary, and you have many more to pack in, you might want to consider Route 1. You will still see one impressive waterfall and views of Yosemite valley, but you will have plenty of time to tackle another hike or take in more views during your day.
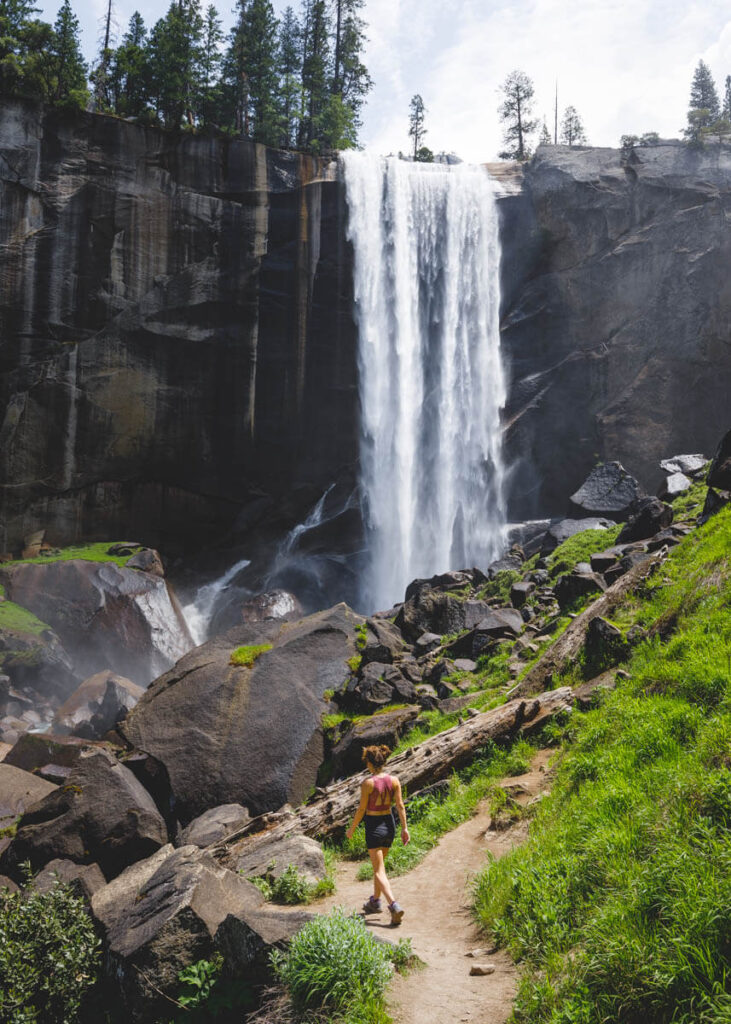
Be aware that this is usually the busiest trail, so you won’t be able to escape the crowds.
If you are in Yosemite for a few days and are up for a bit of a challenge, then take Route 2. The payoff of seeing Nevada Falls and the valley from such a height is well worth the climb for many. Or, for an option that gives you the best of both worlds, try Route 3.
Check out our other guides to Yosemite:
- Things To Do in Yosemite: 26 Can’t-Miss Spots!
- 15 Best Hikes in Yosemite National Park
- Sentinel Dome and Taft Point Loop Hike
- Vernal Falls Hike—3 Ways to Hike Up!
- Where to Stay in Yosemite: BEST Areas, Camping and Lodging
- Waterfalls in Yosemite National Park: 8 BEST!
- Glacier Point Road: What to Know
We hope this helped you better explore the Vernal Falls hike!

